Josh Setup Guide
Josh Remotes
Step 1
Step 1
Before Powering On.
Josh Remotes run on an Android operating system and require a Google Play store account to activate. Installers should create a unique account for each client's home that is specific to their Josh.ai system.
Step 2
Step 2
Complete Setup Wizard.
The setup wizard requires installers to complete three steps:
- Connect Josh Remote to the same WiFi network as the rest of the Josh.ai system.
- Select the client's timezone.
- Log into the Google Play store with the client's unique account information from step one.

Step 3
Step 3
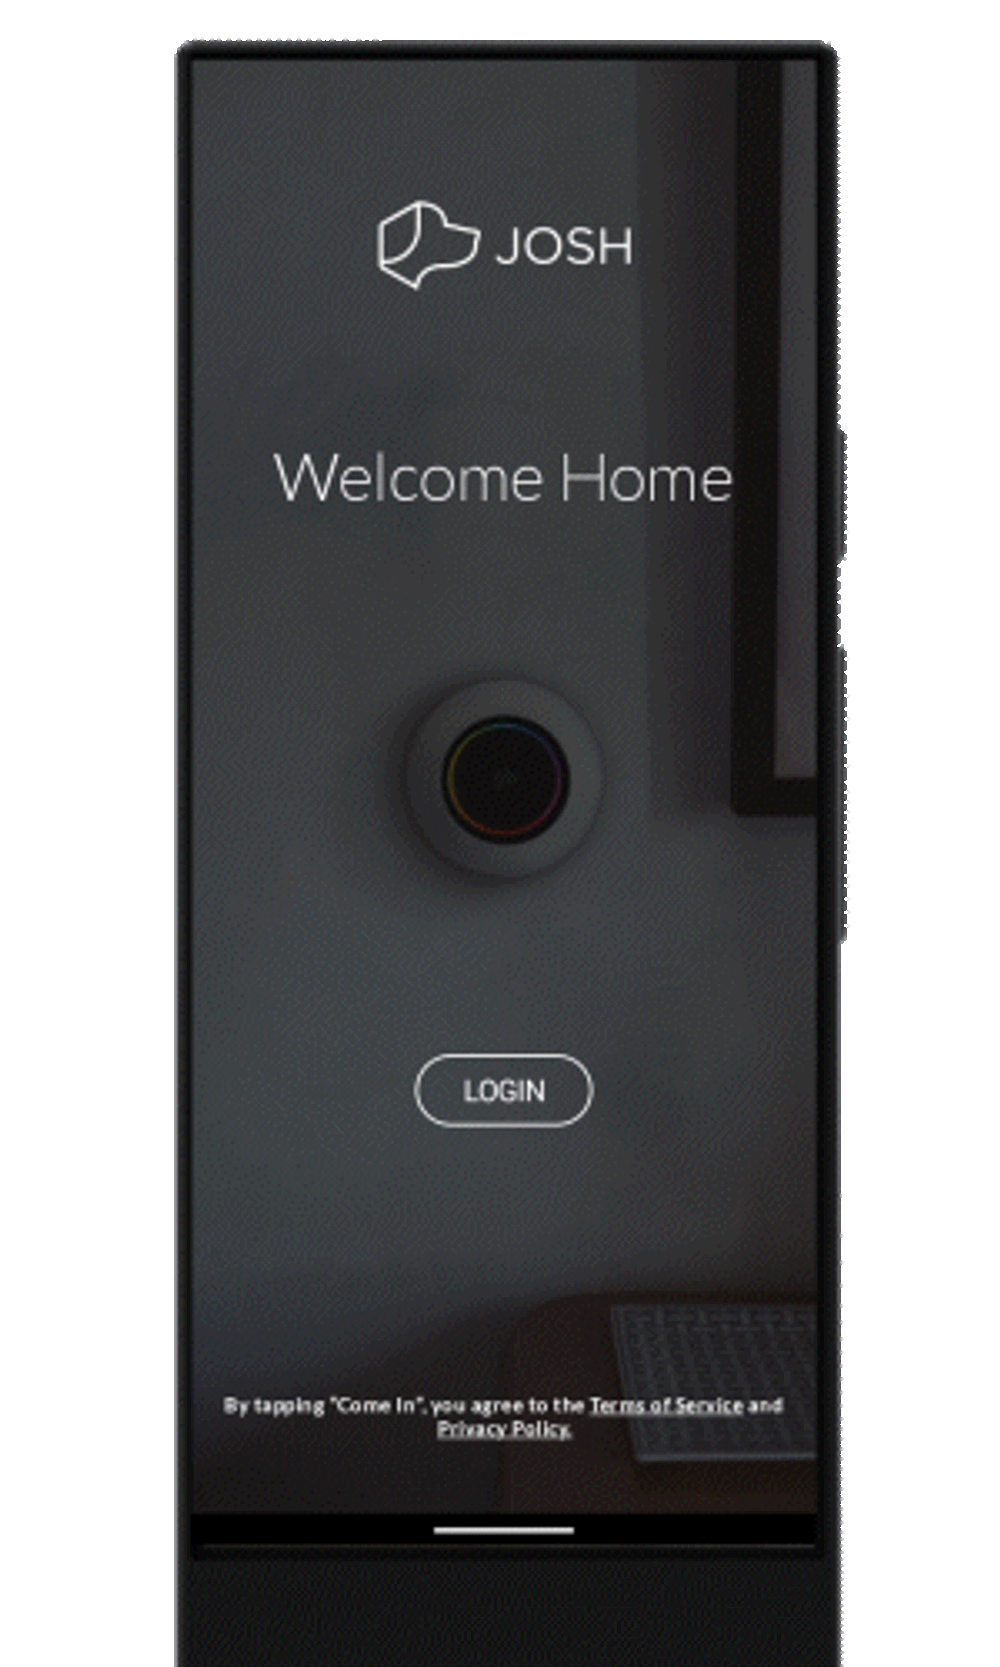
Josh Account Login.
Next you will be asked to login to the client’s Josh account.
Step 4
Step 4
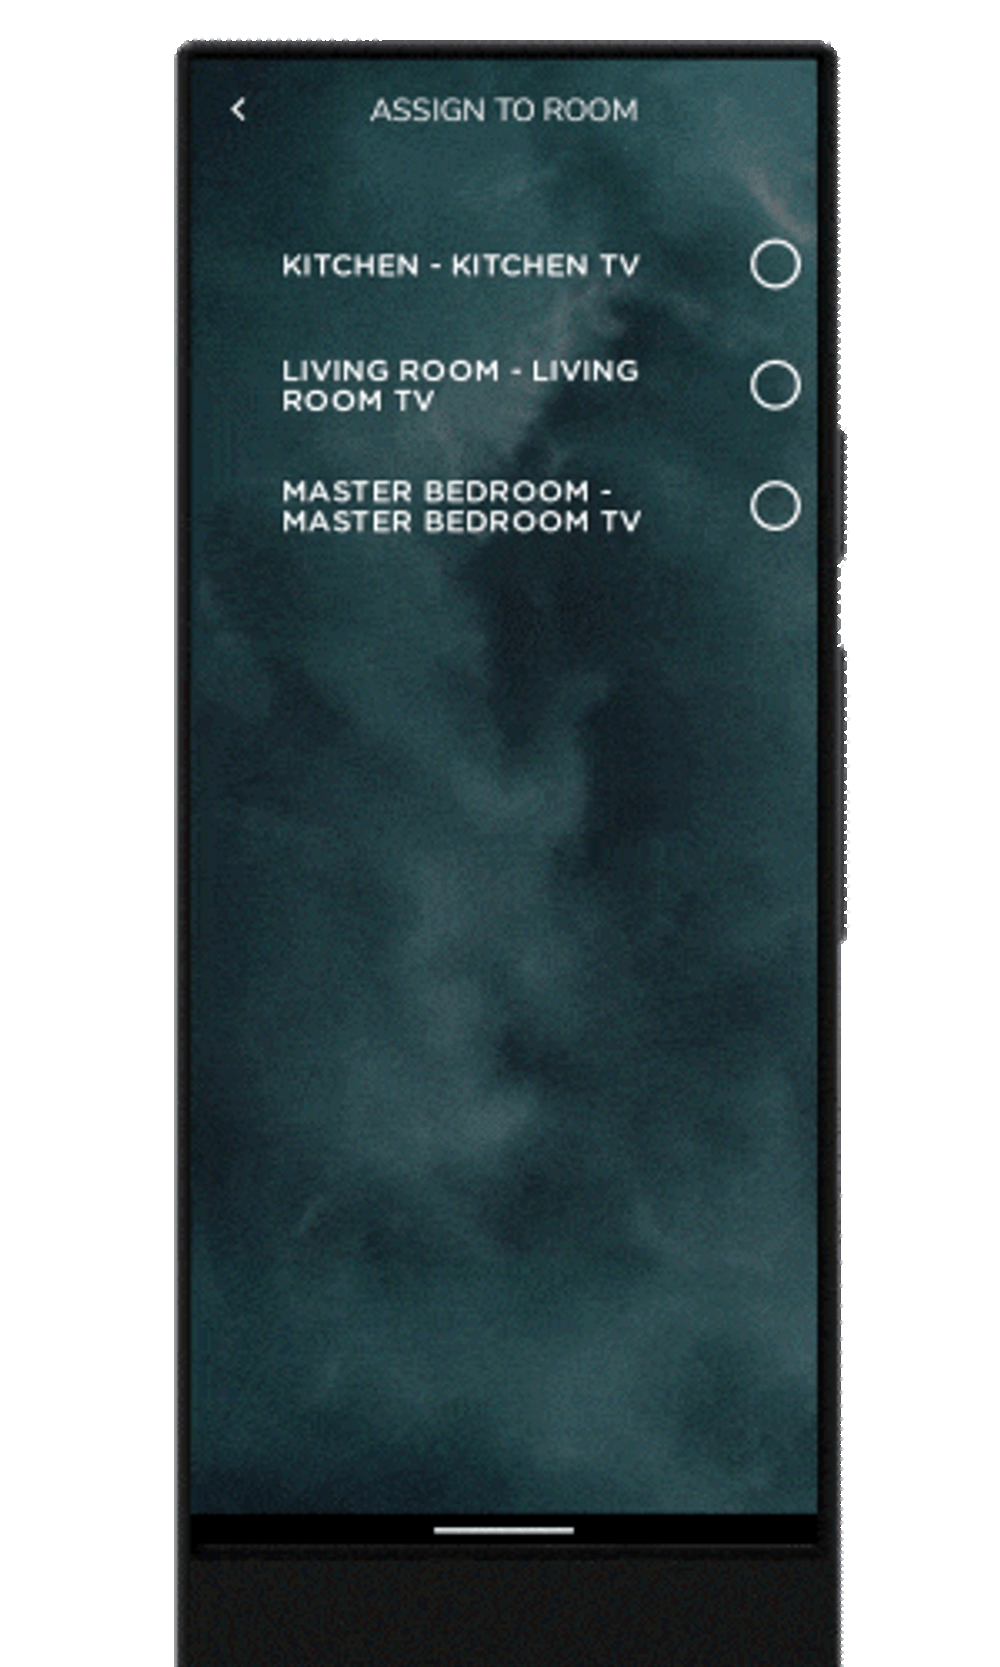
Room Assignment.
After making sure Josh Remote has been properly added to the client's Josh.ai system, navigate to device settings and assign it to a room.
Step 5
Step 5
Allow Audio Access.
By allowing audio access, "While Using The App," clients will enjoy contextual voice control via Josh Remote over their entire smart home. Microphone access can be disabled at any time if a client prefers to use the elegantly designed remote interface strictly for handheld control.
Step 6
Step 6
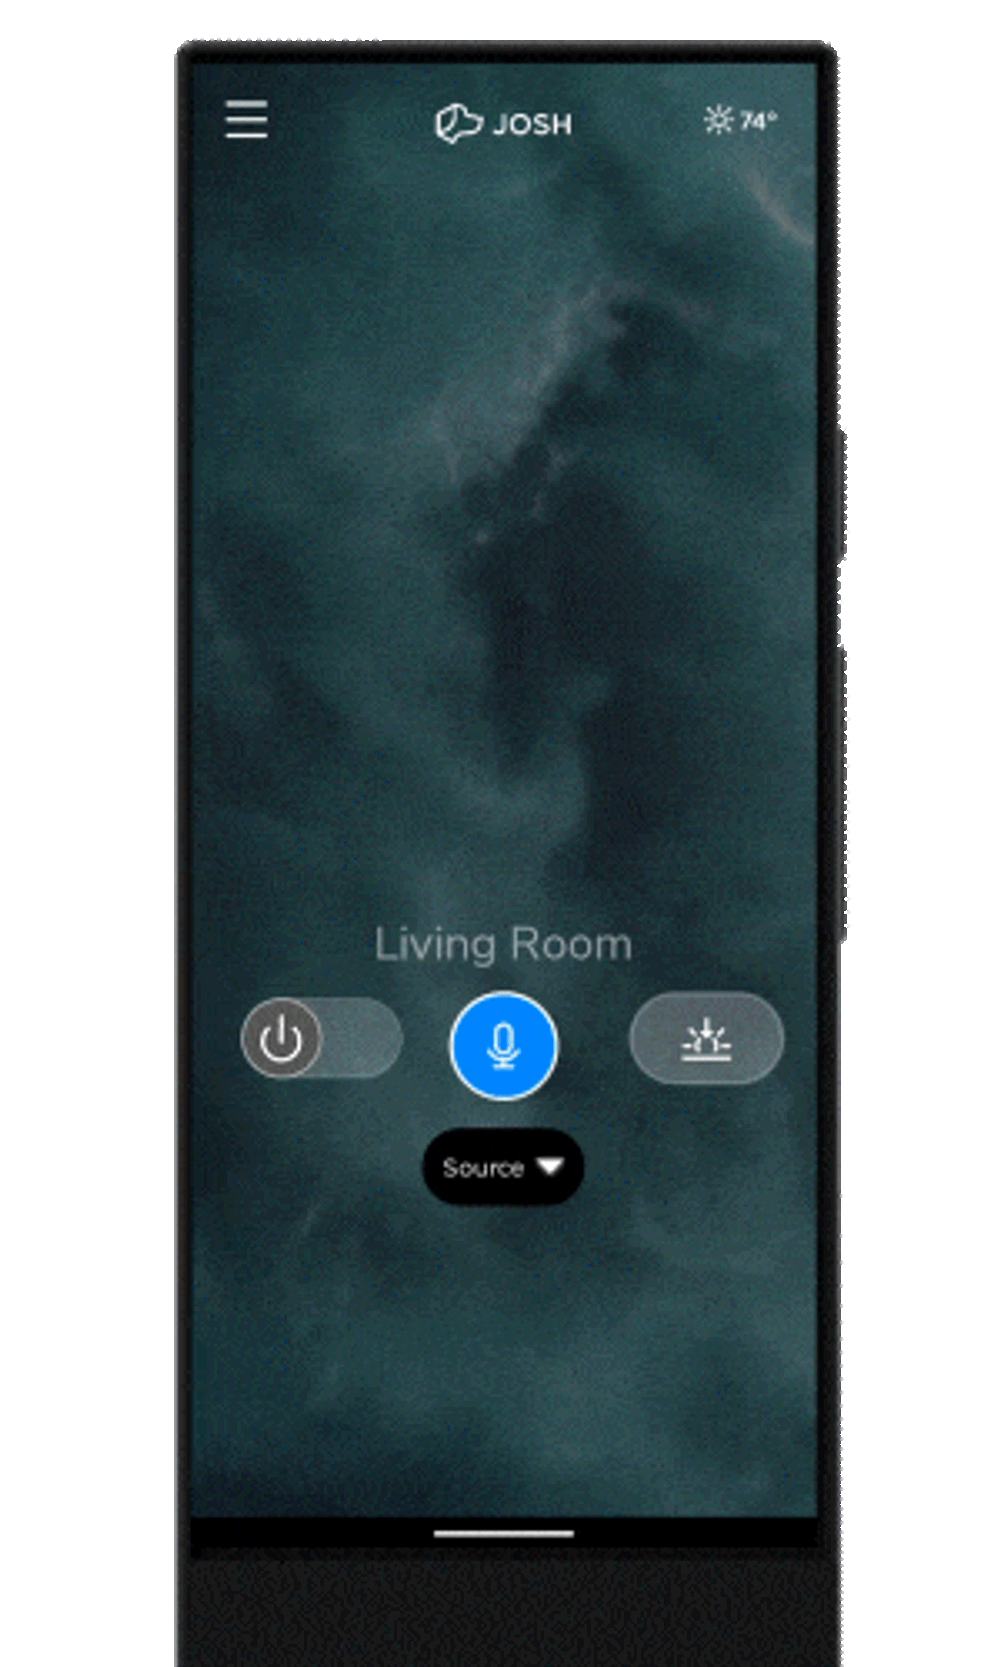
Success!
Josh Remote is ready for TV control, scene activation, and voice commands in a client's living spaces!


