Josh Setup Guide
Josh Nano
Step 1
Step 1
Make sure Josh Core is set up and powered on.
In order to set up Josh Nano, you need to have a Josh Core on your network, and an Ethernet (Cat5, Cat5e, or Cat6) cable running to the install location.

Step 2
Step 2
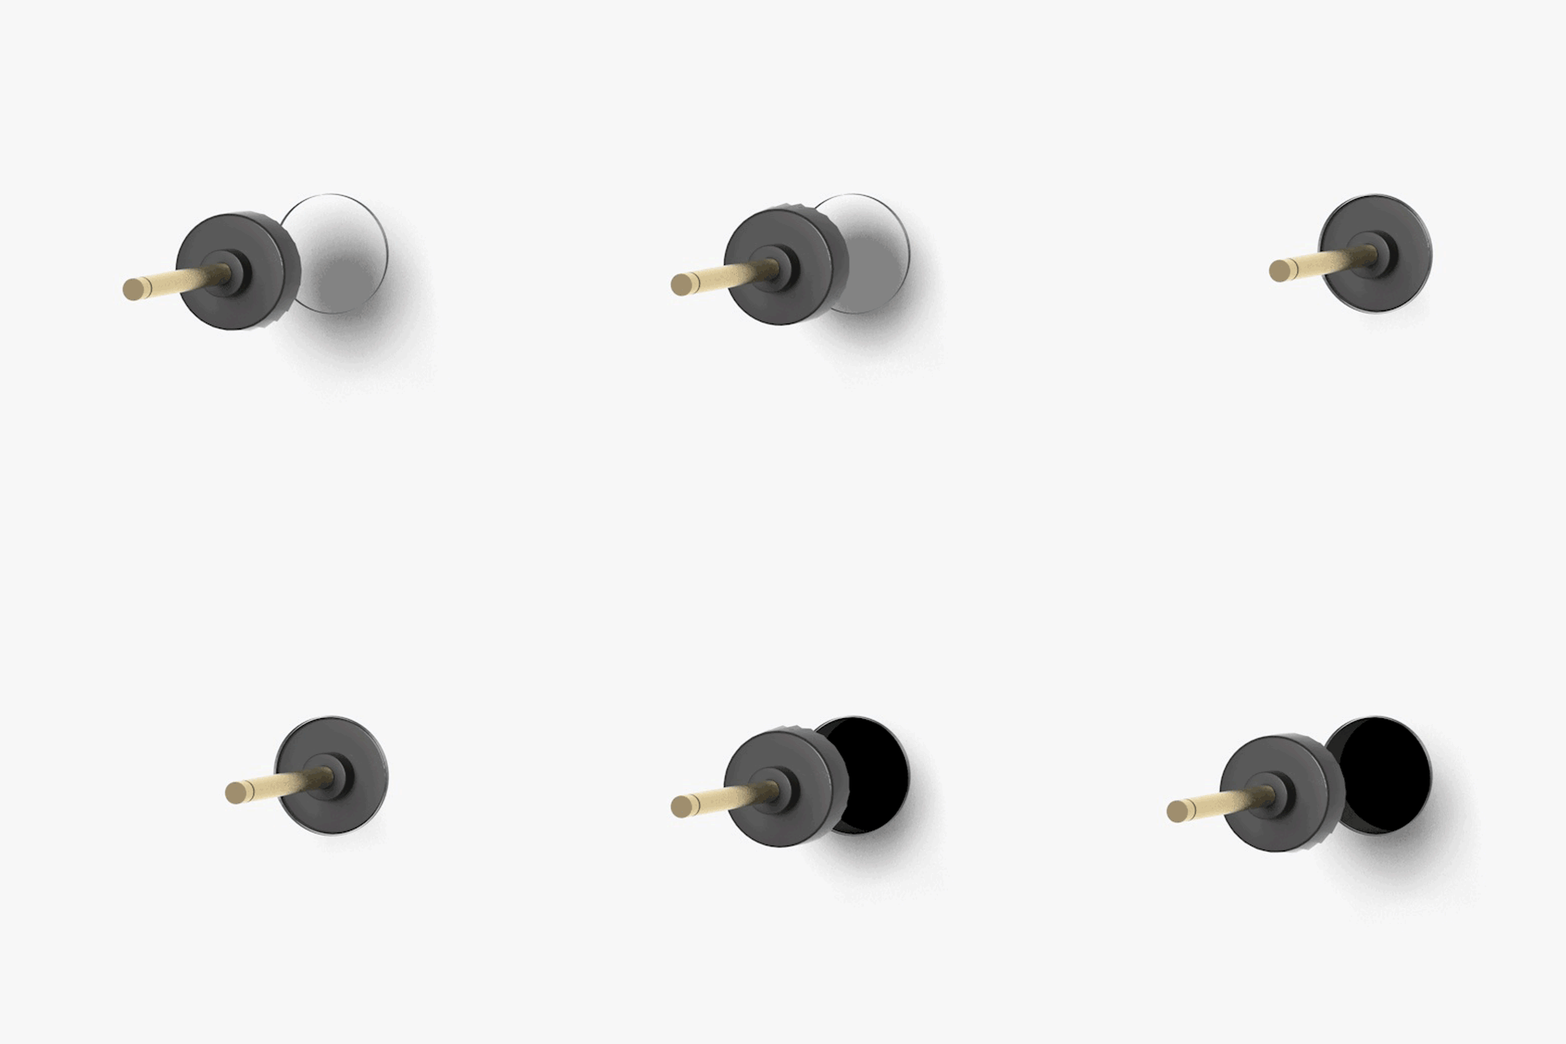
Drill a 1 1/4” hole* through the wall at the install location, and run ethernet cable to the hole.
*NOTE: While a 1 1/4" diameter hole for Josh Nano is recommended, if you are going to be pulling wire through the hole or doing other work, the hole may get damaged and expand in size. If you anticipate this issue, please consider selecting a smaller drill bit and expand as needed.
Step 3
Step 3
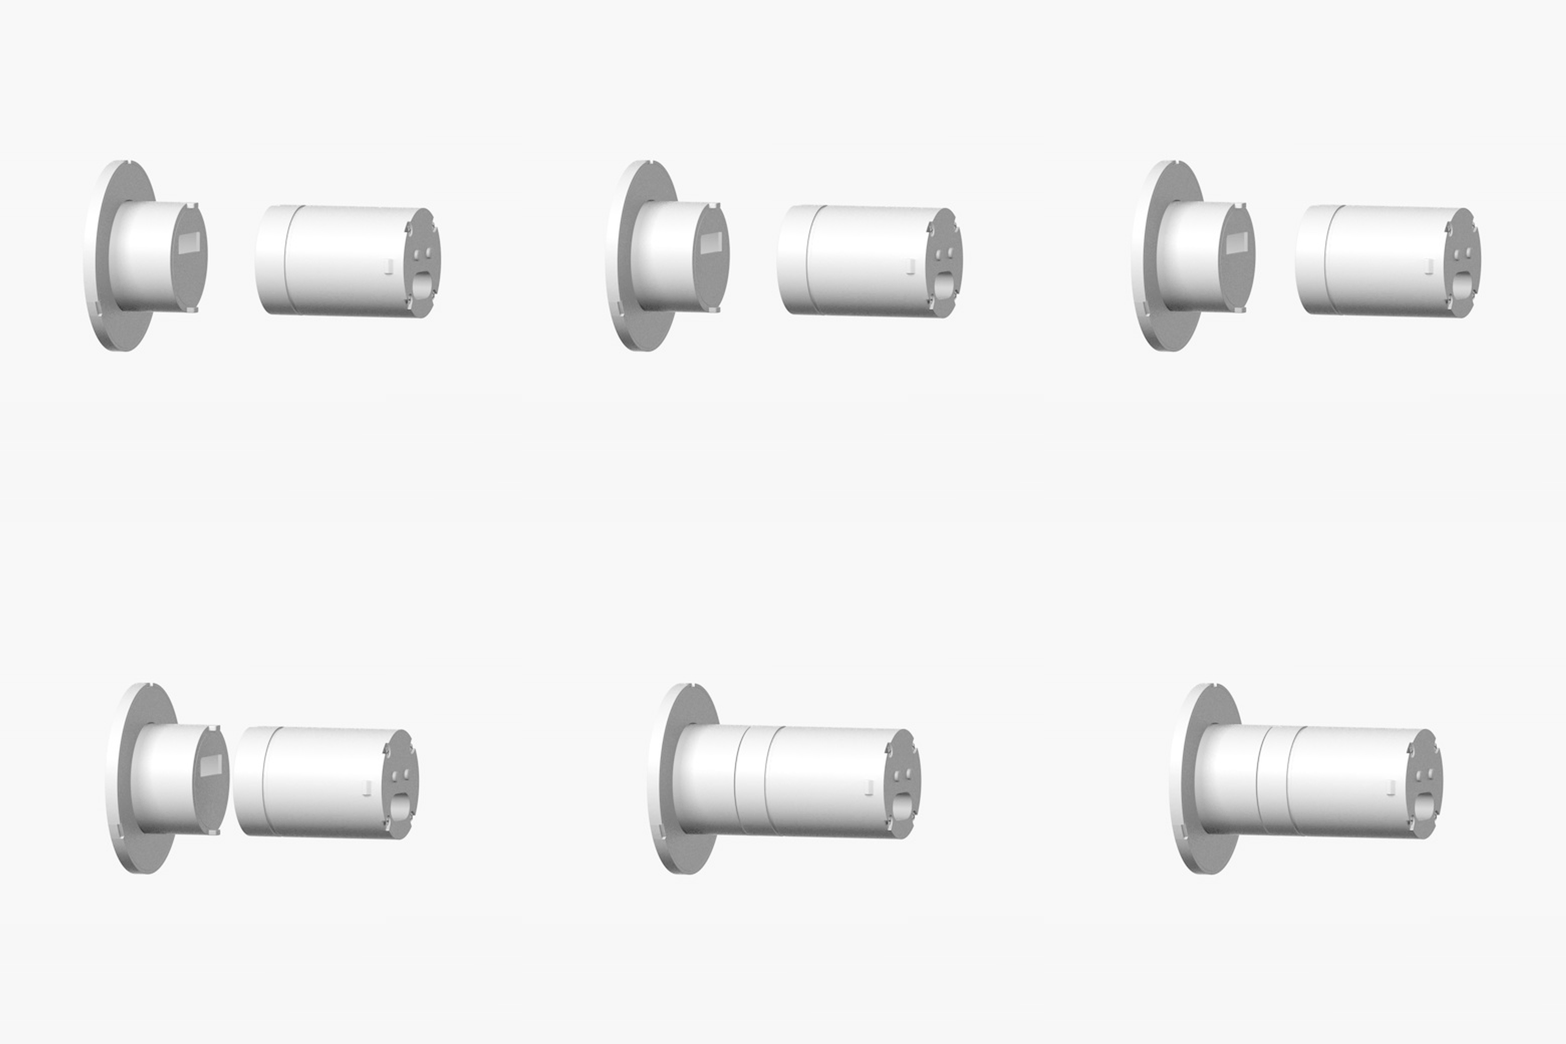
Before you power up Josh Nano, you need to connect it to the Josh Link. Simply push the two pieces together until you hear a click.
Step 4
Step 4
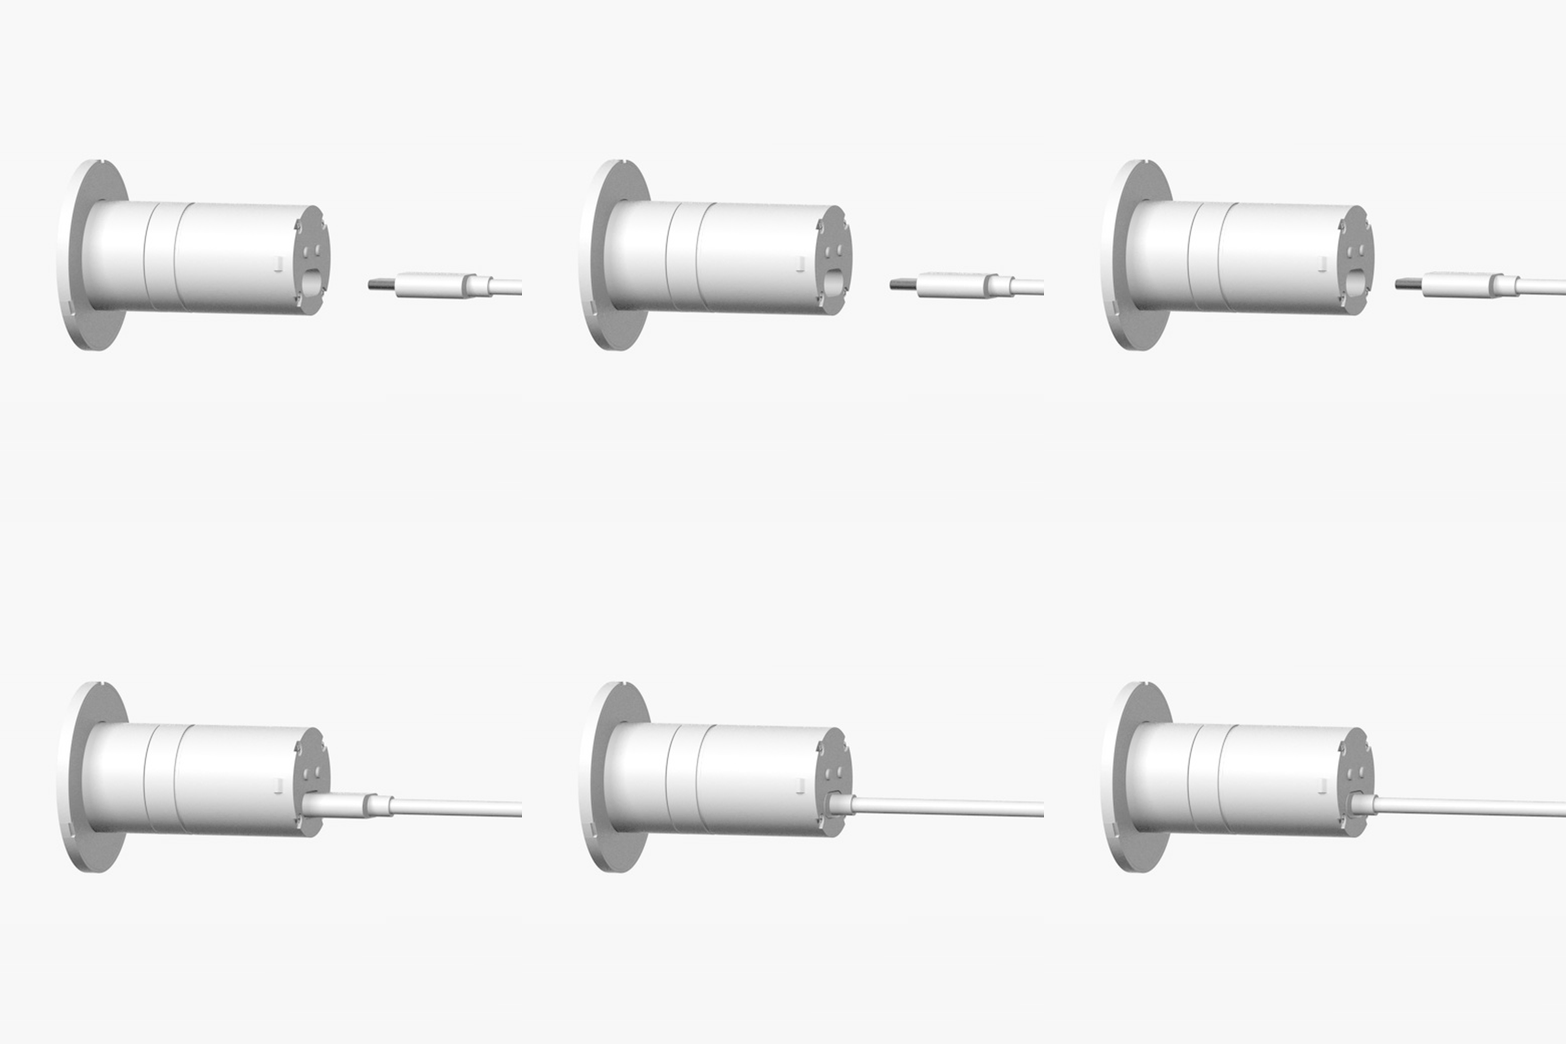
Connect the PoE adapter to the back of Josh Link.
You should hear and feel the adapter click when it is connected correctly.
Step 5
Step 5
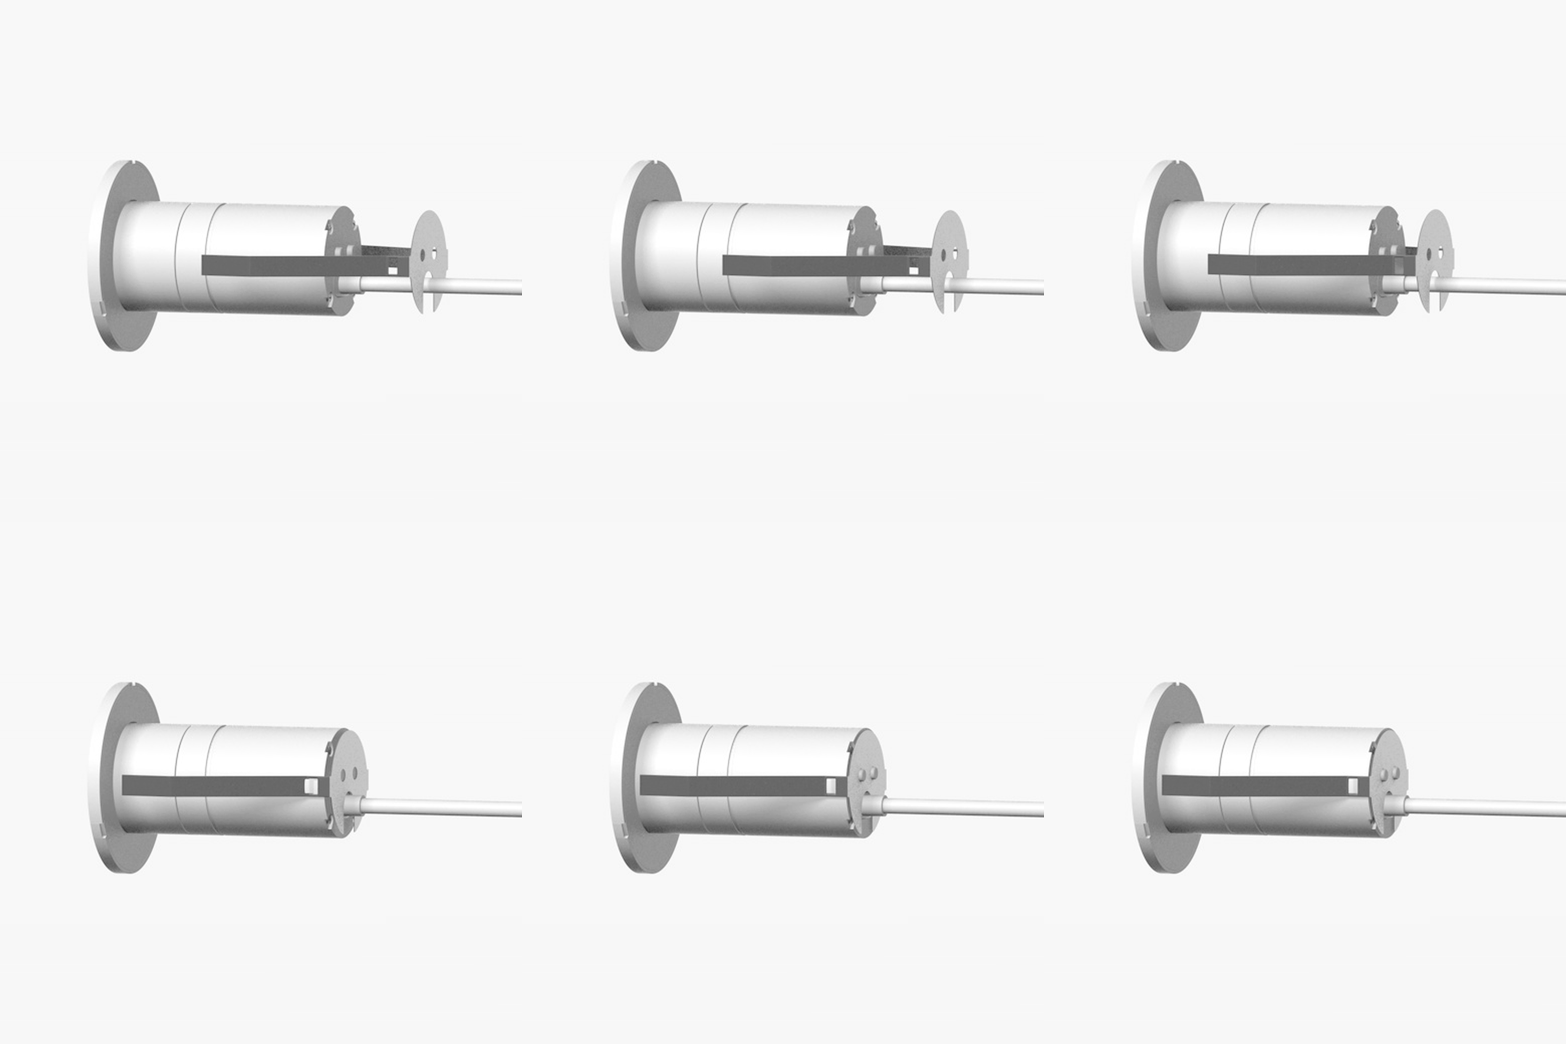
Simply slide the wall clip over the Josh Link and secure it with the provided screws.
This will help secure the PoE adapter to the Josh Link to avoid any possibility of it becoming unplugged during the install.
Step 6
Step 6
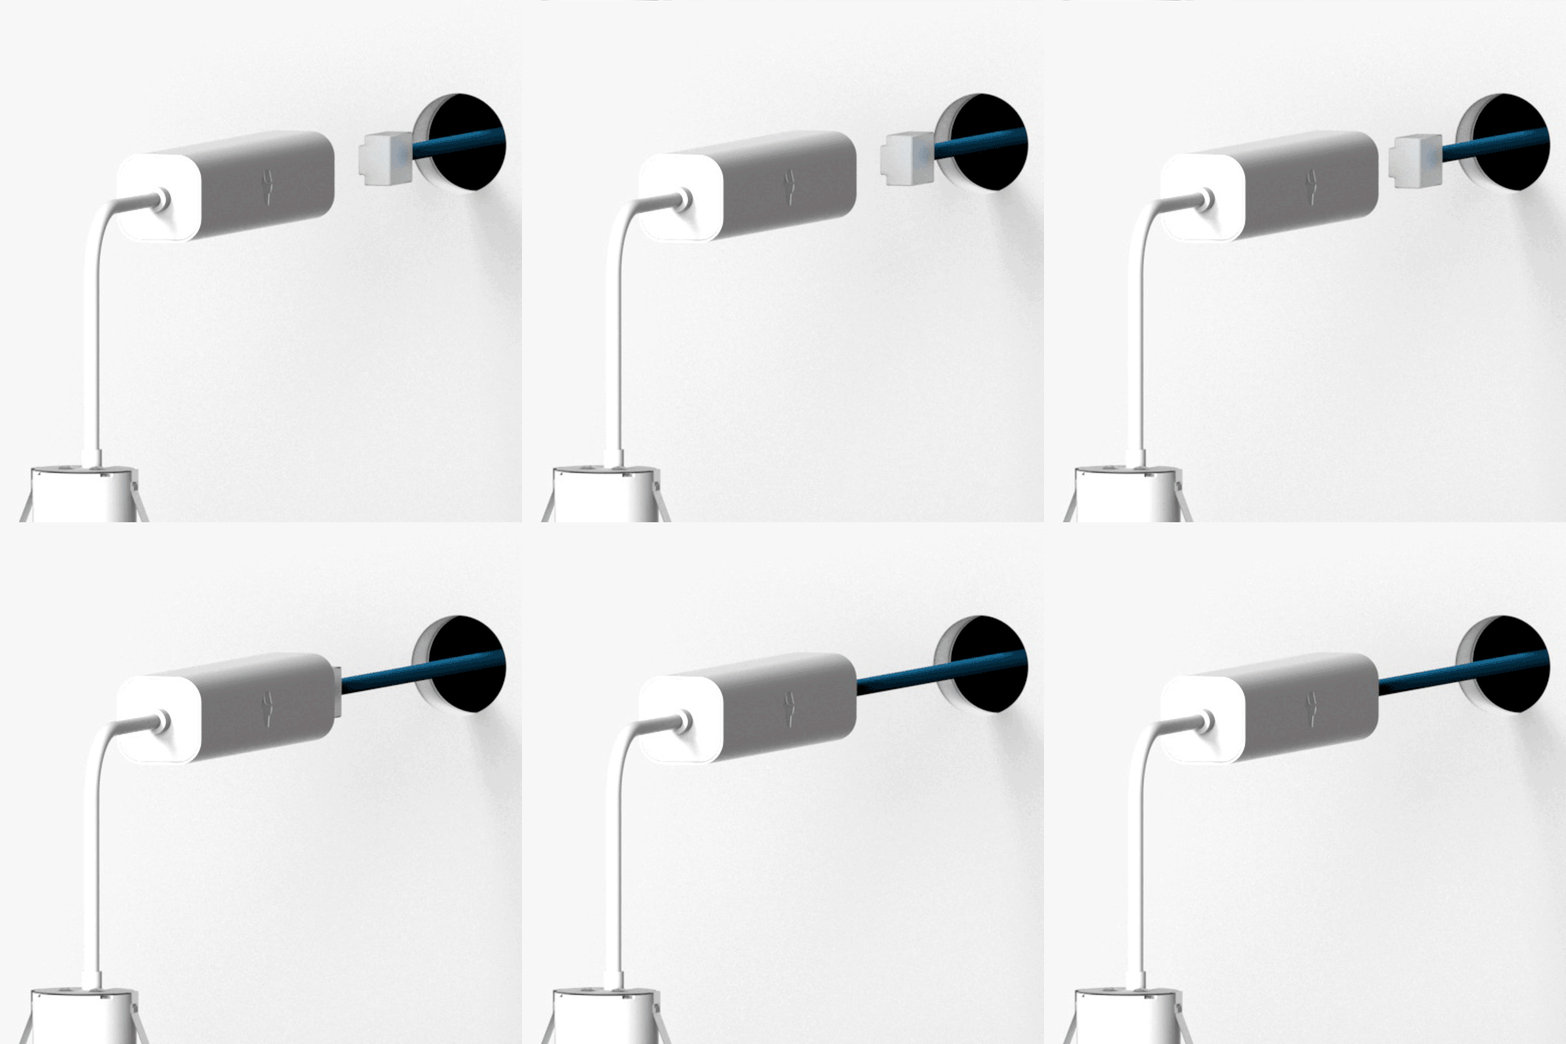
Connect the ethernet cable to the PoE adapter.
We recommend using high quality RJ-45 connectors that will snap into place and not pull out easily.
Step 7
Step 7
Install Josh Nano into the wall.
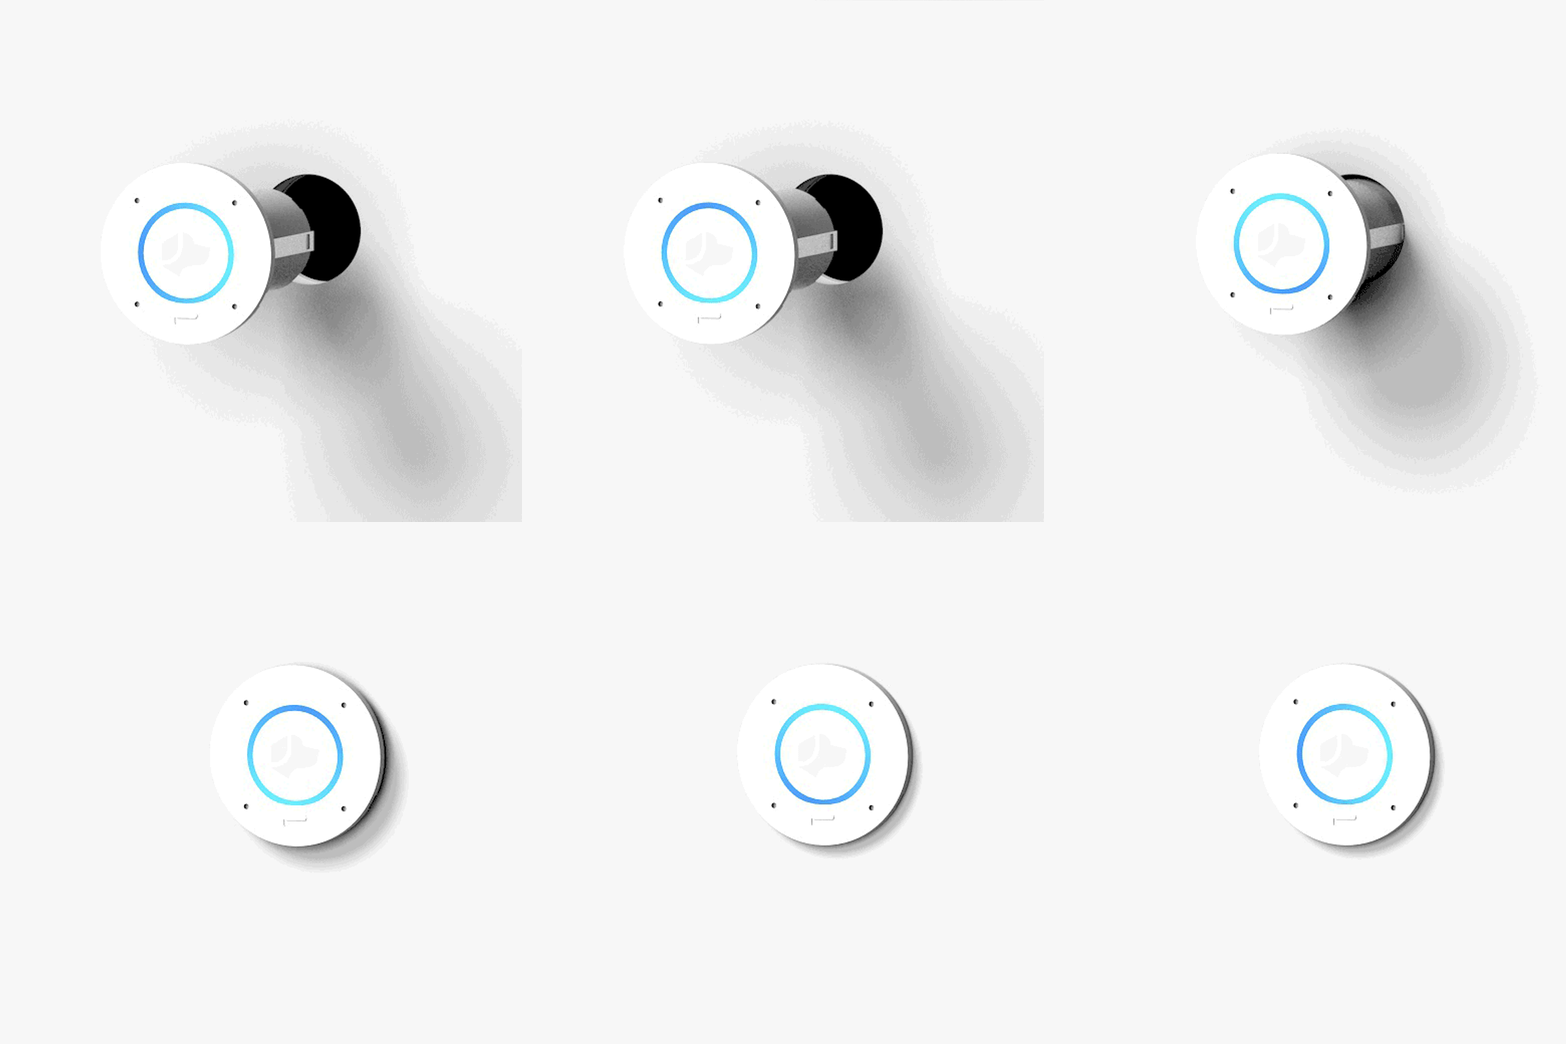
Insert the entire unit into the install hole, starting with the PoE adapter and ending with the Josh Nano. Make sure it is pressed firmly into the wall to ensure the wall clip engages.
Make sure Josh Nano is as level as possible as you insert the device into the wall, so that you do not have to adjust it while it's in the wall.
Step 8
Step 8
Success!
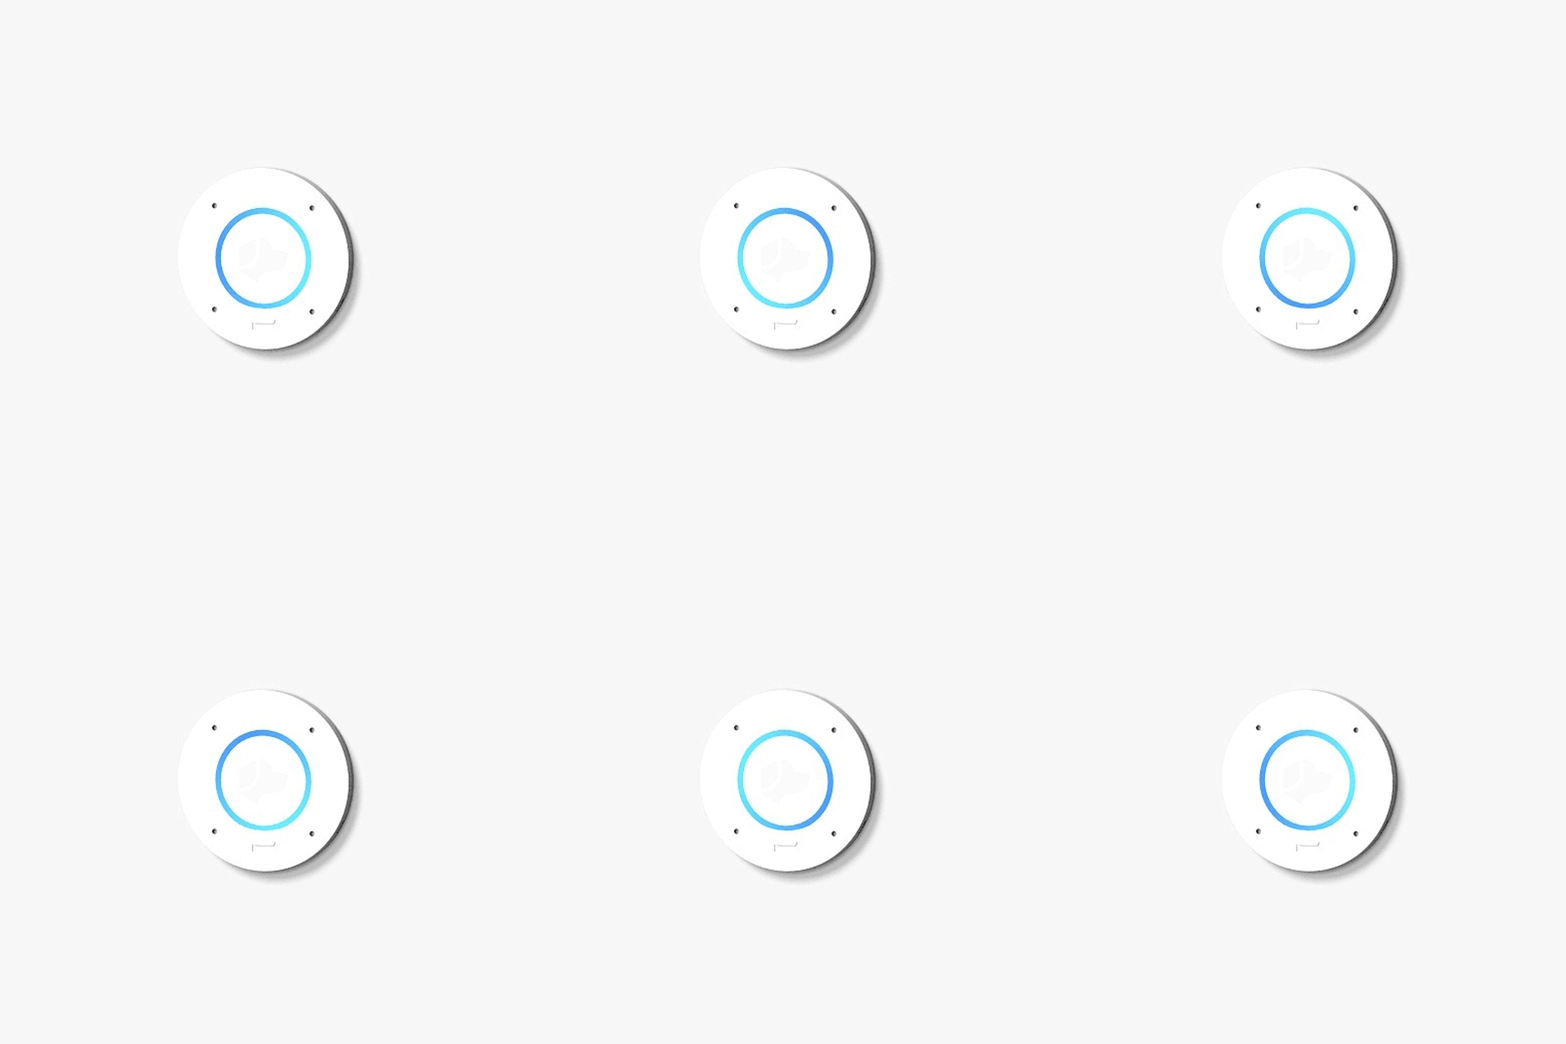
You should see the Josh Nano LEDs light up. Use the Josh.ai iOS app to add Josh Nano to a room and assign an audio output.
