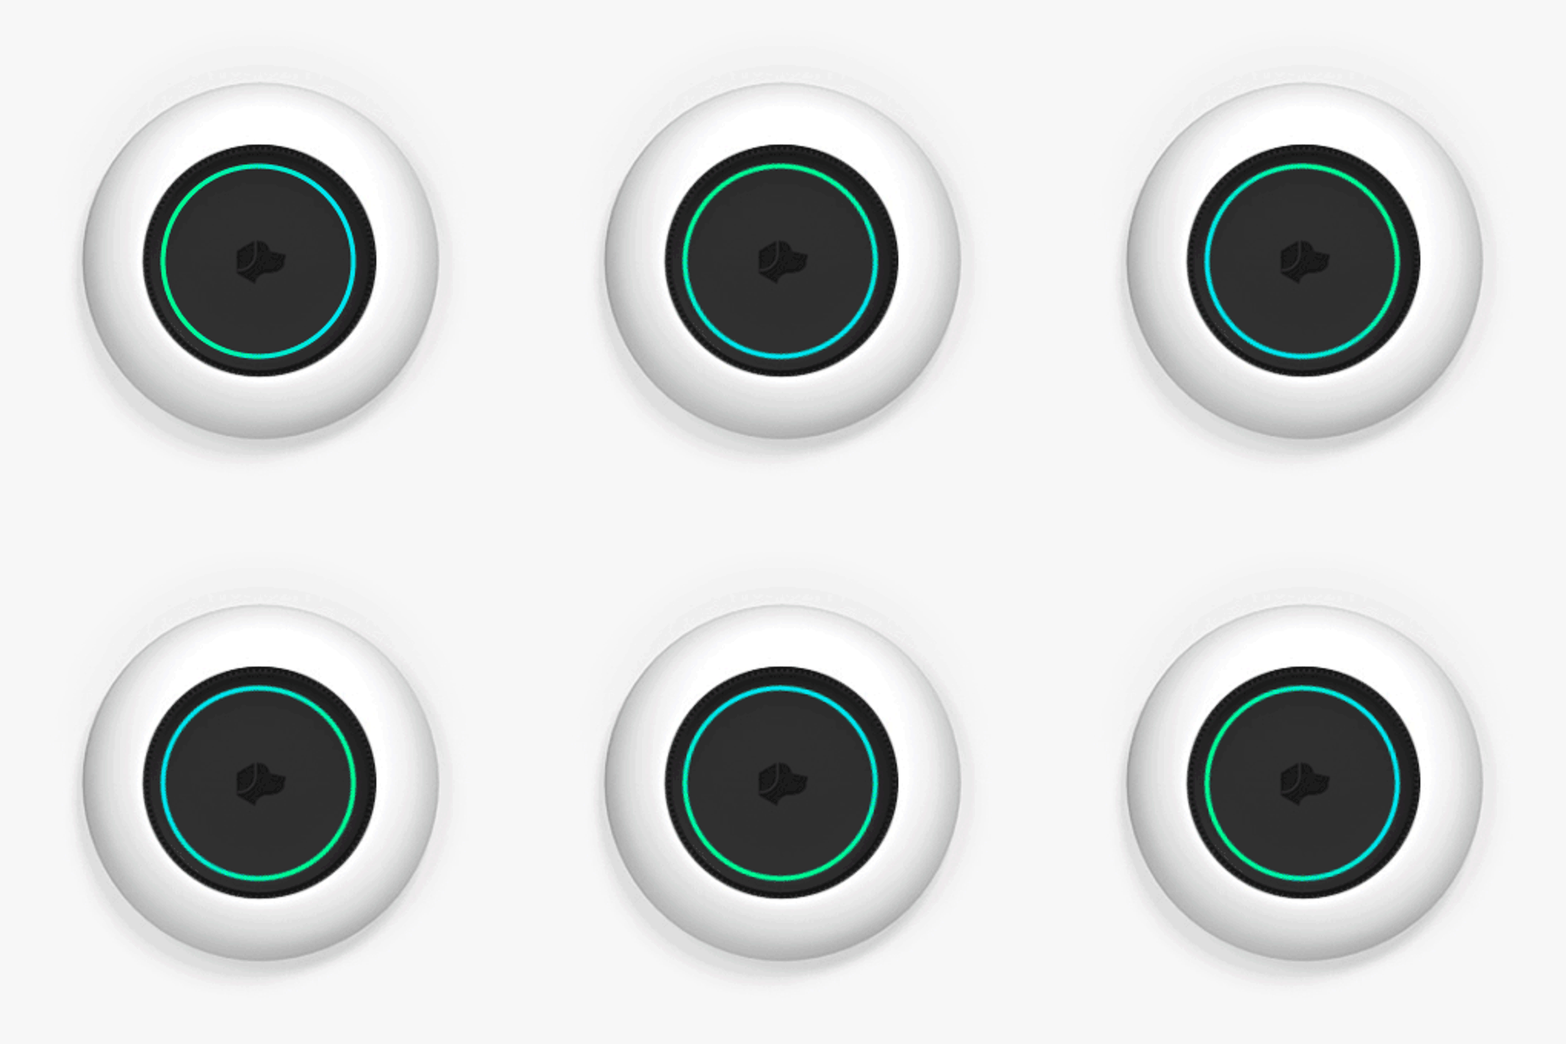
Josh Setup Guide
Josh Micro (WIFI)
Step 1
Step 1
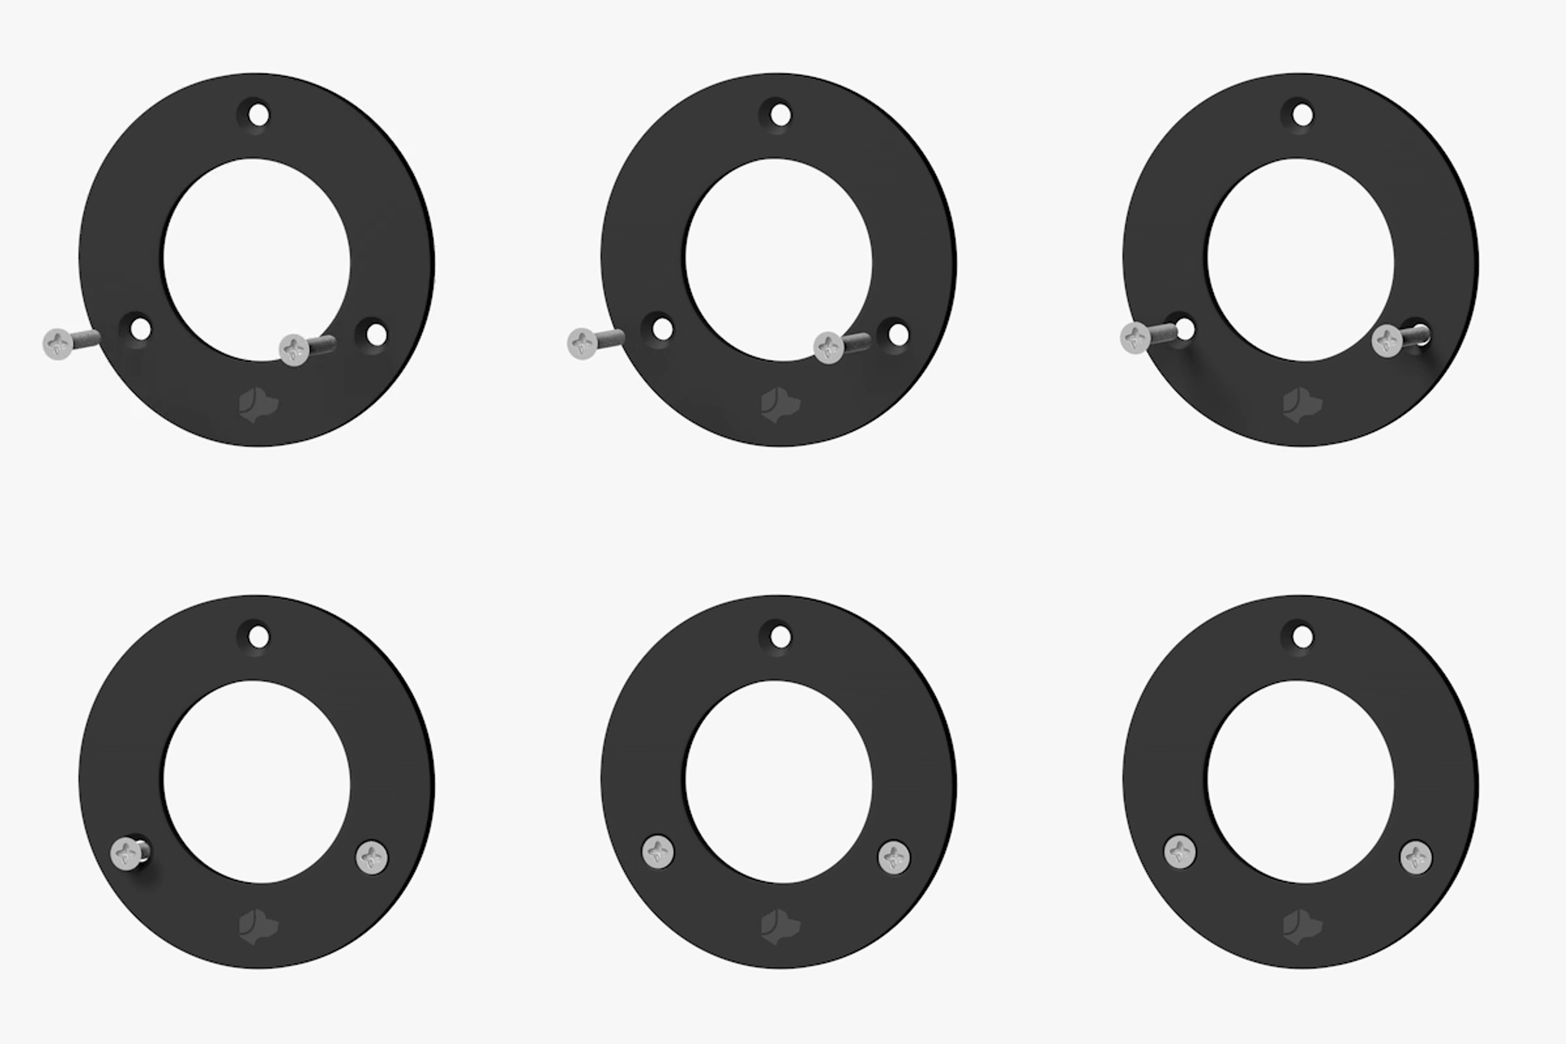
Insert the two M3 screws into the bottom holes of the wall mount ring.
You can watch a simple how-to video here. Not using the table stand? Skip to step three. If you're wall-mounting your Micro using POE (Power Over Ethernet), follow this guide.
Step 2
Step 2
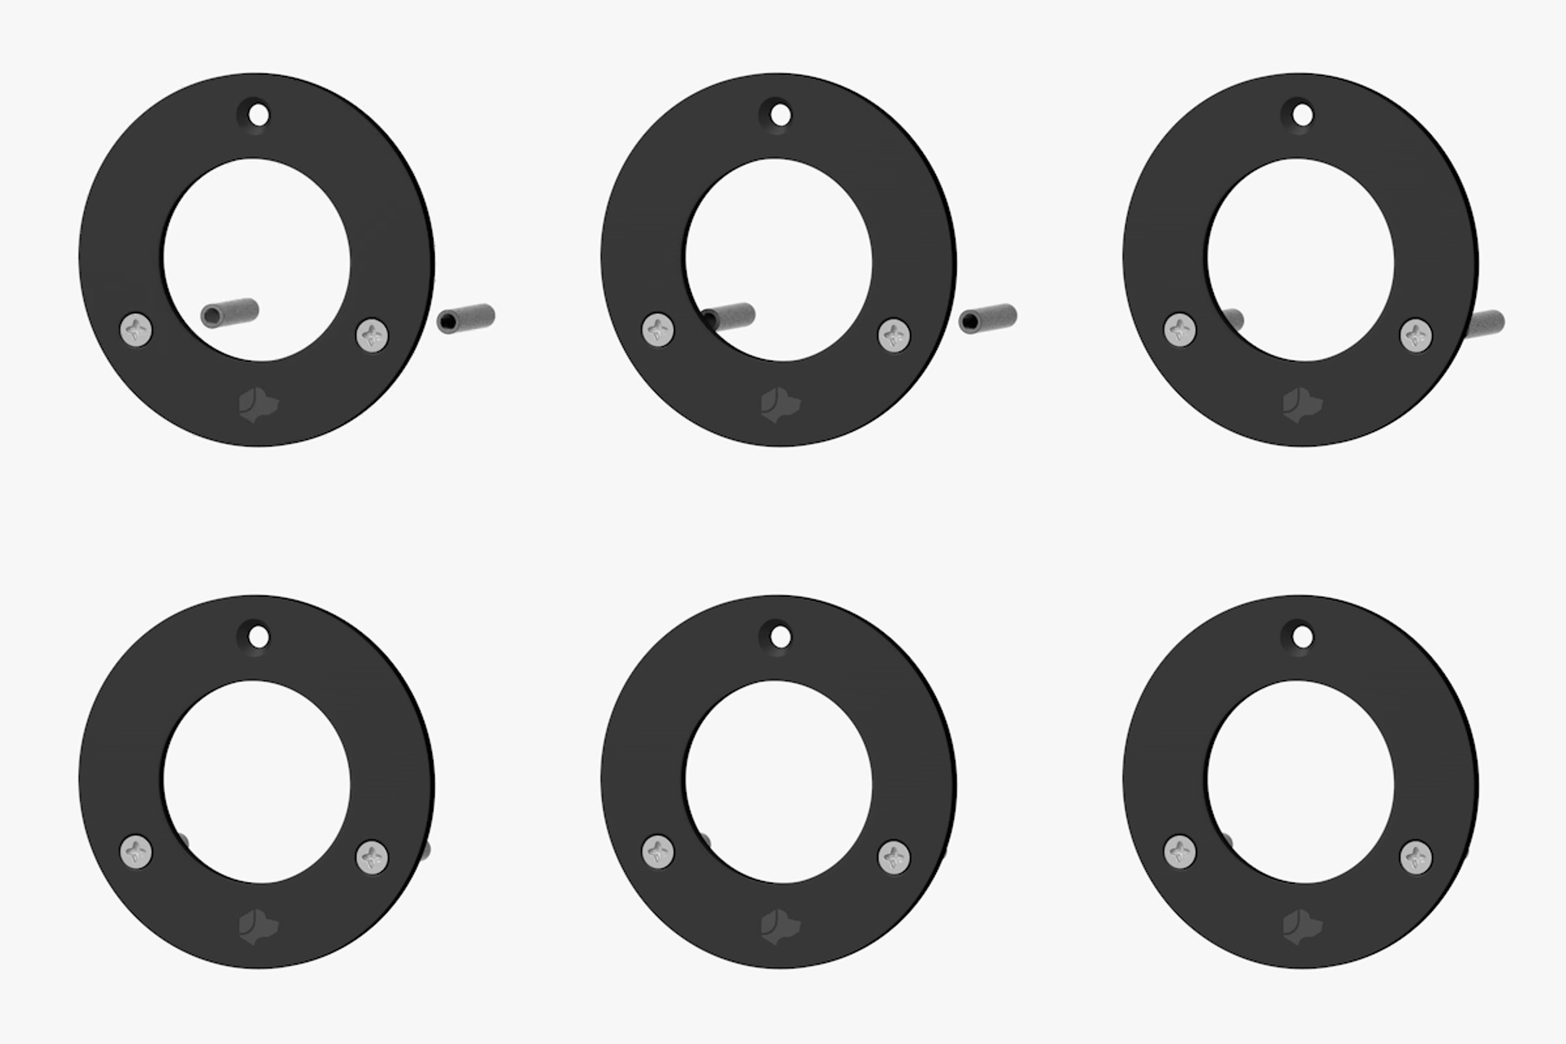
Screw the two rubber screw covers into the M3 screws.
You’ll need a small Philips screwdriver to tighten the screws. They should be tight enough to sit flush in the wall mount and have no wiggle room.
Step 3
Step 3
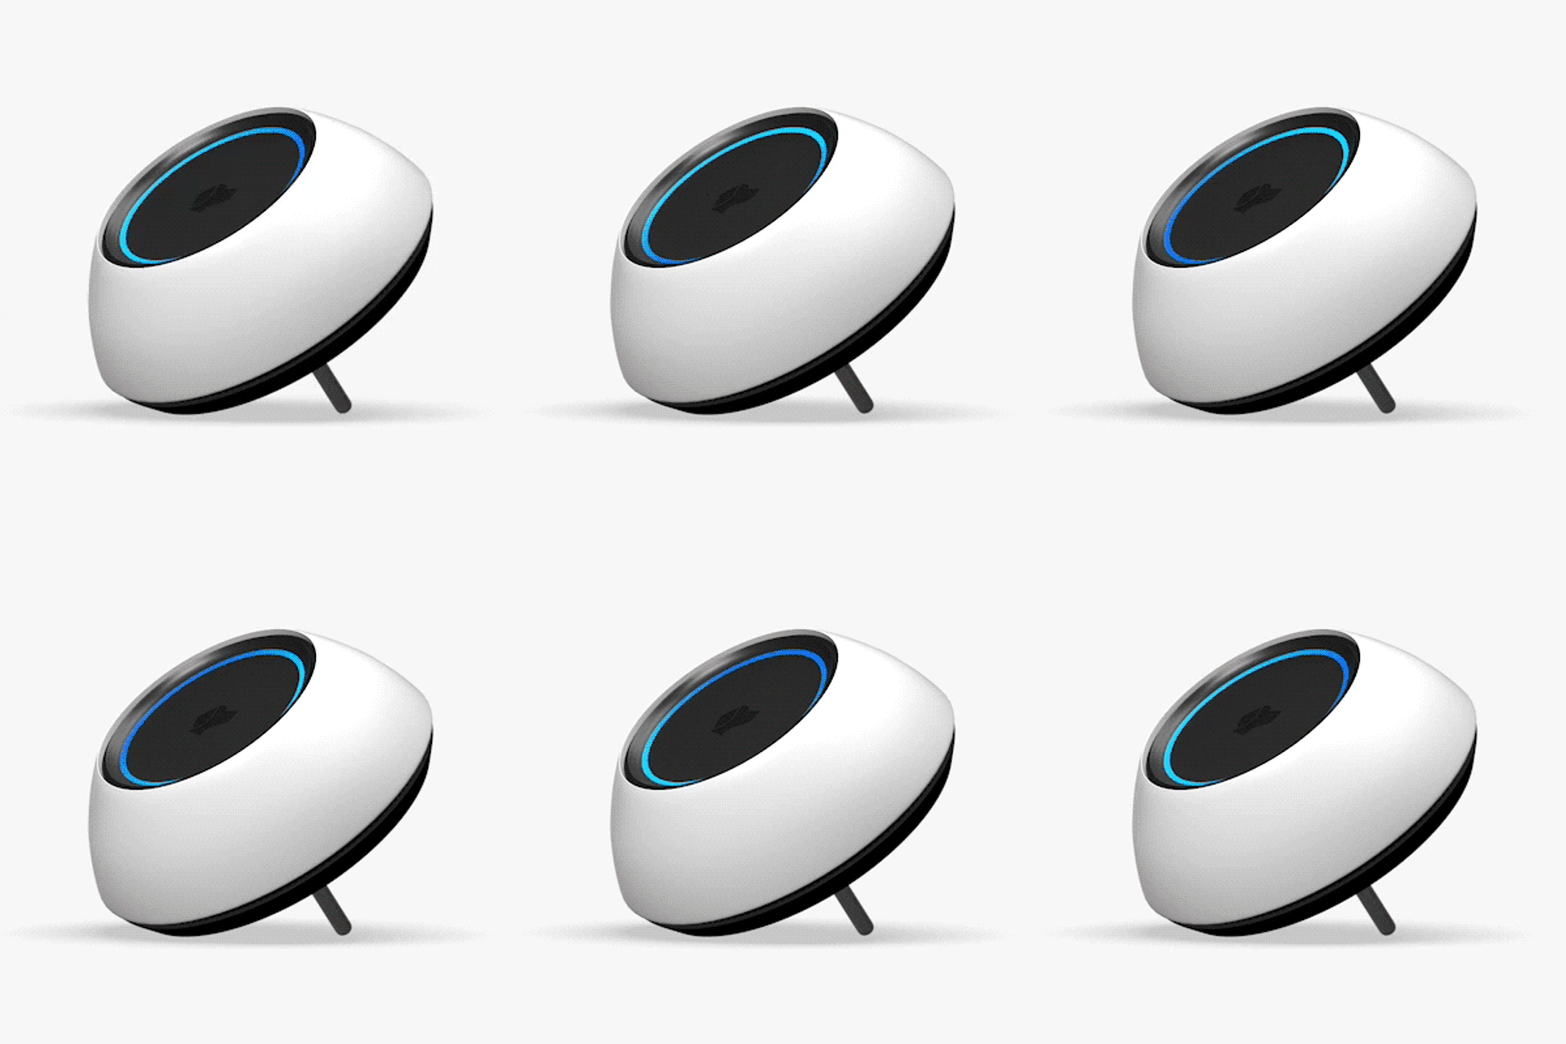
Attach your Micro to the table stand and plug it in.
Use the USB-C cable provided. When Micro is ready to set up you'll see the LEDs light up blue. You can set Josh Micro up then unplug and move it.
Step 4
Step 4
Download the Josh App.
Configuring a Micro is done on the Josh iOS app using your Josh.ai credentials.
If you don't know your login, or if you have a login but haven't bought a license yet, reach out to support@josh.ai for help.

Step 5
Step 5
Add your Micro.
Log in to the app, navigate to the settings menu, select "Device Setup", and then choose "Josh Micro".
Step 6
Step 6
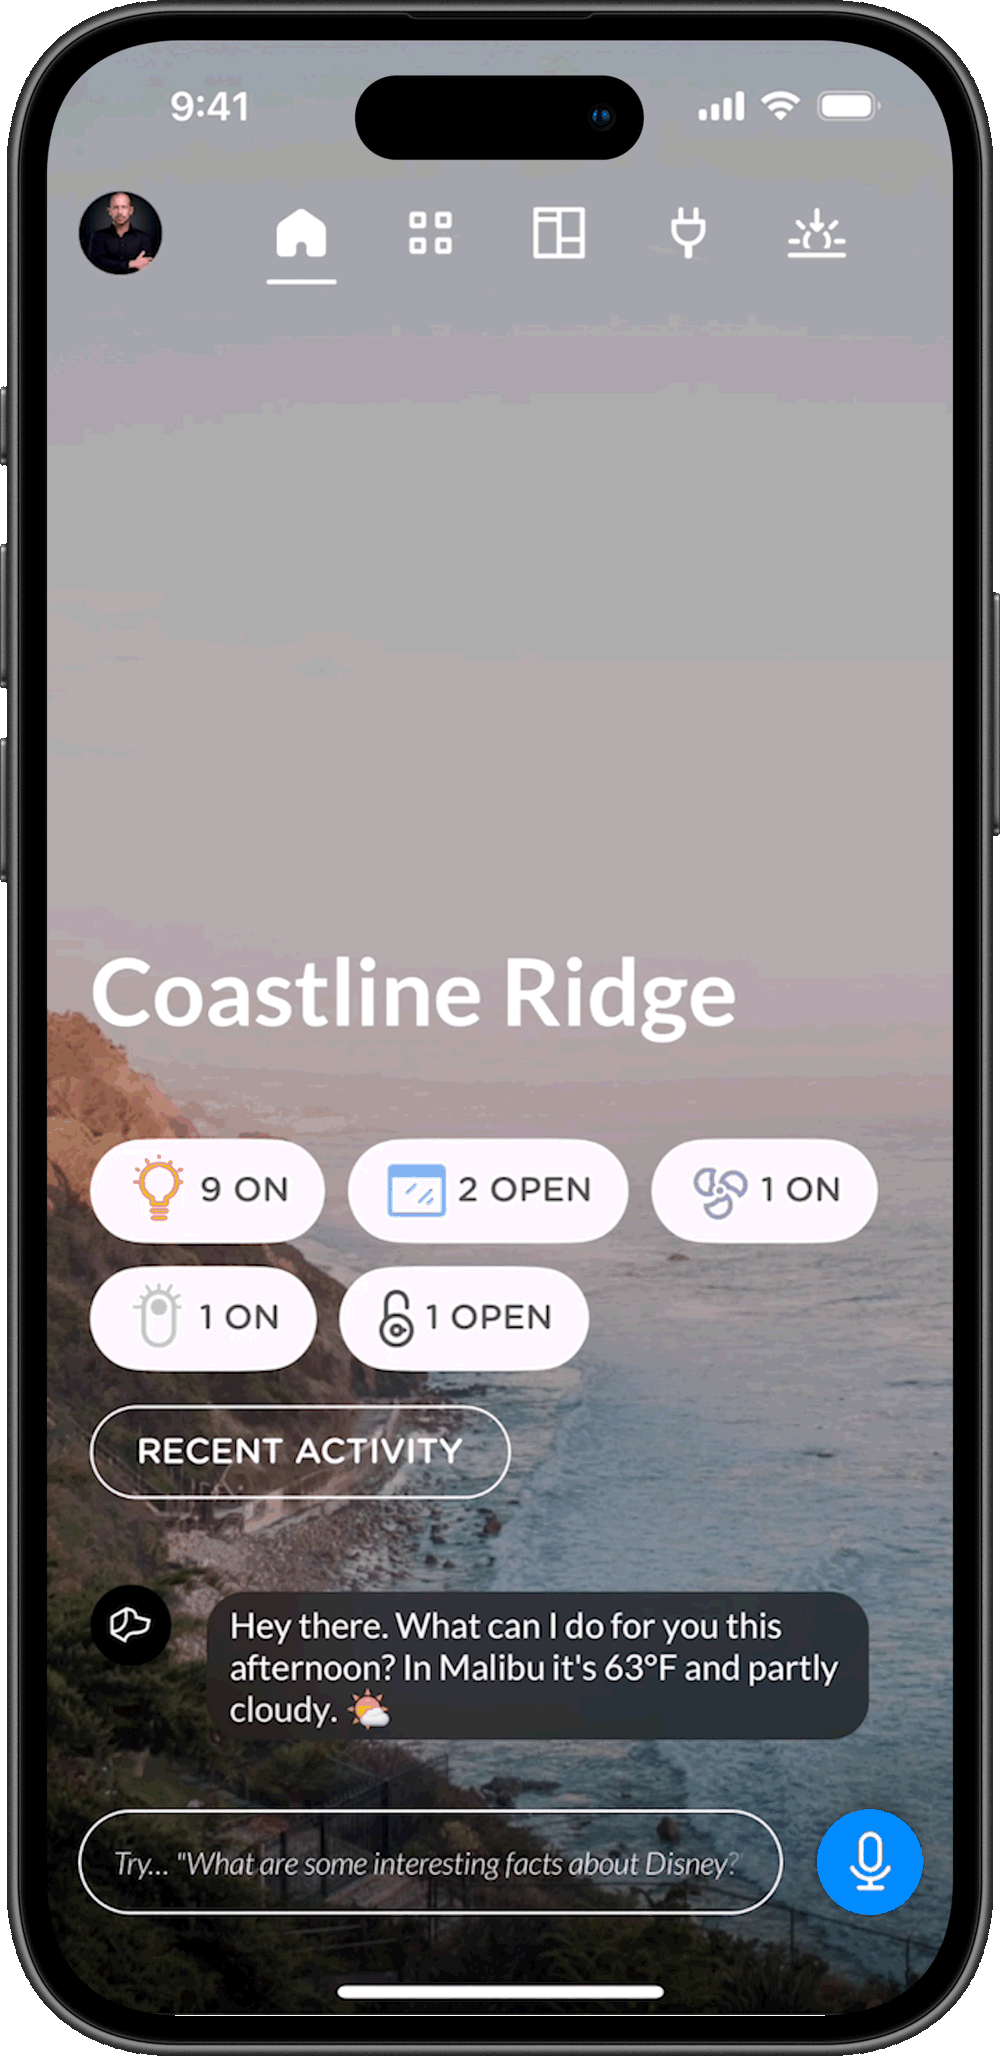
Follow the steps outlined in the app to connect Josh Micro to your home.
Follow the steps outlined in the app to connect Micro to your home.
If you run into any problems, don't hesitate to contact support@josh.ai.

Step 7
Step 7
Once connected, test your device by saying “Ok Josh, what’s your name?”
Josh Micro has a number of exciting voice and touch capabilities. Visit the Josh Tips page to learn more!
