Josh Setup Guide
Josh Core
Step 1
Step 1
Connect one end of the cable into a PoE capable port of your network switch, and connect the other end into the network port of the Josh Core.
Make sure the cable clicks into position at both ends.
When Josh Core receives power via the network cable, you will see the LEDs light up white. A few seconds later they will change to blue, signifying that Josh Core is ready for set up.
If the unit doesn’t power on, make sure the network cable is connected to a PoE port on your network switch, and that the network switch is powered on.

Step 2
Step 2
Download and open the Josh App.
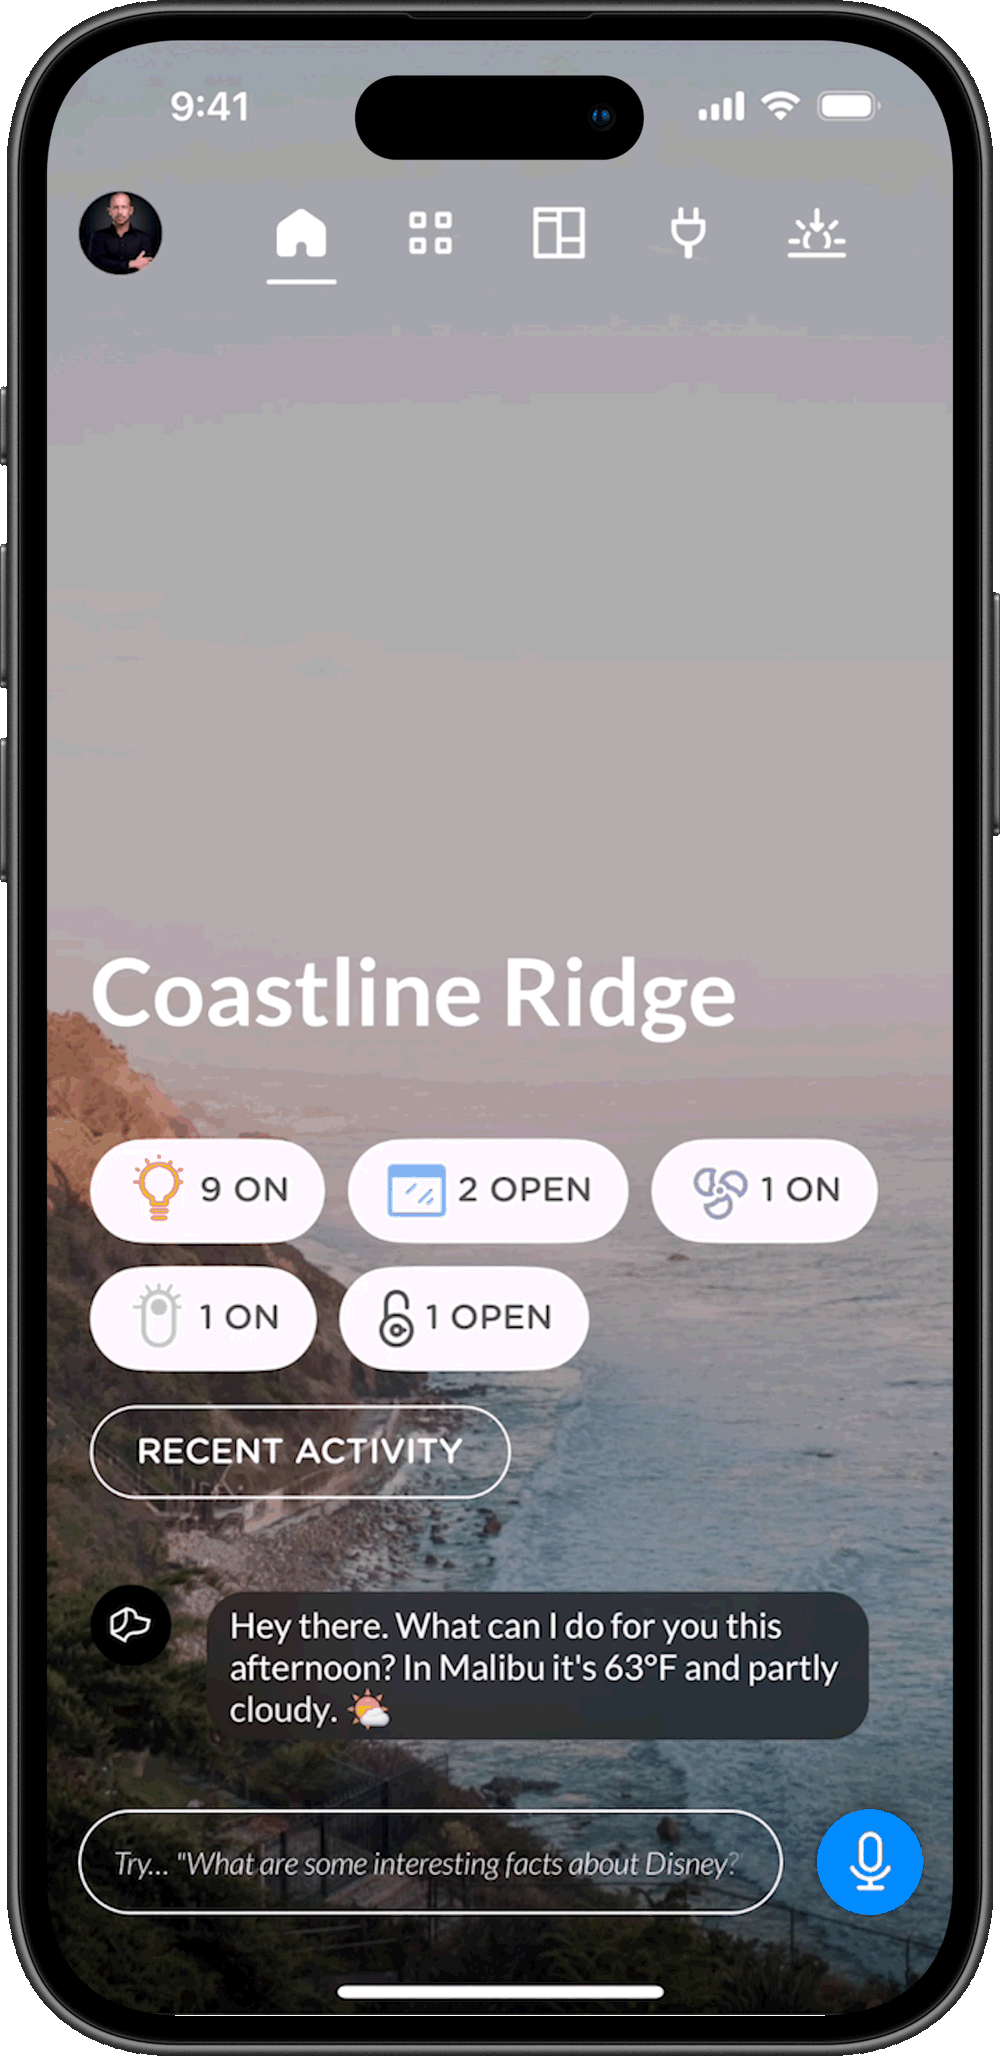
Login to the Josh iOS app to configure Josh Core.
If you don't know your login, or if you have a login but haven't bought a license yet, reach out to support@josh.ai for help.

Step 3
Step 3
Follow the steps outlined in the app to connect Josh Core to your home.
If you run into any problems while setting up Josh Core, don’t hesitate to contact us at support@josh.ai.

Step 4
Step 4
Once connected, the Status LED on Josh Core will turn white. You can now add Josh Micros and Josh Nanos to your home.
If you're using a second Josh Core as a high availability option, repeat these steps and then use the diagram below to correctly connect the Voice Out options.

Step 5
Step 5
Voicelink is the latest and greatest improvement to our Voicecast feature. Josh can now respond to you through more than just Sonos speakers.
In order to set up Voicelink with Josh Core, it’s important to understand your AVR zones.
Once you understand which zones you want your Josh Core audio routed to, it’s as simple as connecting the two Voicelink outputs to the desired AVRs.
If you are using an HA (High Availability) configuration with Josh Core, make sure to follow the diagram below to establish the Voicelink connection between the two Josh Cores as well as the connection out to your AVRs.


